Archive | Travelling Easter Tree

The Next Installment of our Travelling Easter Tree Tutorials…

Hello everyone,
We are having such rainy weather at the moment, I love the rain… I am so looking forward to winter here, sitting by the warm fire, being all cozy and of course knitting… 🙂
And now for the next installment of Heidi and my Easter Tree Tutorials… I thought I would make some knitted Easter eggs for the tree:)
As you can see Heidi has added homemade Easter biscuits that are divine and you can find the recipe for them here. I have added solid and striped knitted Easter eggs, some I have knitted in cotton and bamboo and others I have knitted in Mohair.
Knitted Easter Egg Tutorial:
I have knitted these eggs with The Magic Loop technique:
You Tube Videos:

You Tube link for how to knit with the Magic Loop.
Here is a You Tube video link on how to change colours while knitting in the round.

Knitted Easter Egg Pattern:

Cast on 9 stitches on circular needles and divide up as seen in the photo above to start knitting:)
Knit 1 round
Knit into the front and back of each stitch in next round increasing your stitches to 18.
Knit 1 round
Knit into front and back of each stitch in next round increasing your stitches to 36.
Knit 6 rounds
Change colour, knit 4 rounds,

Change colour, knit 4 rounds,

Change colour, knit 4 rounds,

Change colour

(Knit 5 stitches knit 2 together) continue this across the entire round and knit 1 stitch at the end of the round.
Knit 1 round.
(Knit 5 stitches, knit 2 together) continue this across the ertire round, knit 3 stitches on the end.
Knit 1 round.
(Knit 5 stitches, knit 2 together) continue this across the round, knit 1 stitch on the end.
Knit 1 round.
(Knit 2 together) continue all across the round.
(Knit 2 together) continue all across the round, knit 1 on end.

(If you just want to knit a solid egg, just knit through all the rows on the same colour:)
Finishing off:

Break your thread and thread your yarn onto a wool needle and thread your stitches from your circular neeldes onto your wool needle and pull tight to close the opening. I normally fill the egg from this end and make sure the the wide base is firm and then fill the rest of the egg. Close both ends by threading tight in a circle with your thread and pulling tightly closed.

Roll your egg in your hands to get the required egg shape, and there you have an Easter Egg!

I just tied a little thread of rainbow yarn through the top of my egg so it could hang in the tree, you could also crochet a chain if you like.

Here is the actual link with photos of my knitted Easter Egg tutorial:)

If you have knitted any Easter eggs from this pattern already and blogged them, please share your blog post link with us in the comments, we would all love to see your creations:)
Share the Love Heart Swap:

We are in full swing with our Share the Love Heart Swap, thank you to everyone who has sent in their names and details, if you haven’t heard from us yet you will soon and we will partner you up with a swap partner:) If you would still like to join, please do and don’t forget to send in your name, address and blog link to myself lindadawkins@mweb.co.za or Heidi at gerry@mweb.co.za and we will partner you up for the swap.

To read more about the swap, view here.

Happy Thursday friends, from rainy South Africa,
Warmly
Linda

20

Our Travelling Easter Tree Tutorials…

Dear Friends,
Thanks so much to everyone who has put their name forward for the Share the Love Heart Swap, we have started to partner people up and we are all looking so forward to this wonderful crafting experience and connecting with people all over the world:) Jenny B I received your comment but I couldn’t find your email you sent through, it must be stuck in cyberspace. If you could resend  your address, name and blog link through that would be wonderful, thanks so much:) I will write more about the swap at the end of this blog post…:)
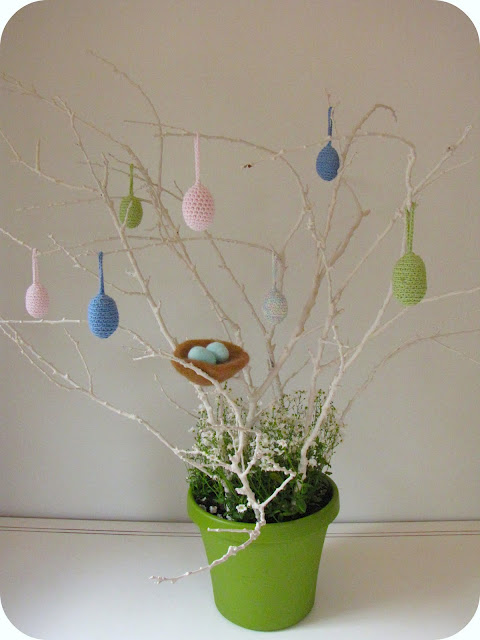
Now back to our travelling Easter Tree. My very creative friend, Heidi, and I have decided to put together a travelling Easter tree that will commute between our two homes and each time it arrives we will put together a tutorial specifically for the tree. Heidi built the tree and you can see her tutorial here on her blog, her first addition to the tree was a crocheted Easter egg tutorial.
Now it is my turn. When this beautiful tree arrived on Sunday afternoon, I looked at it and throught how lovely it was. I was wondering what I could add to this tree…. I decided on a Robin’s bird nest with eggs:)
Here is the tutorial below:
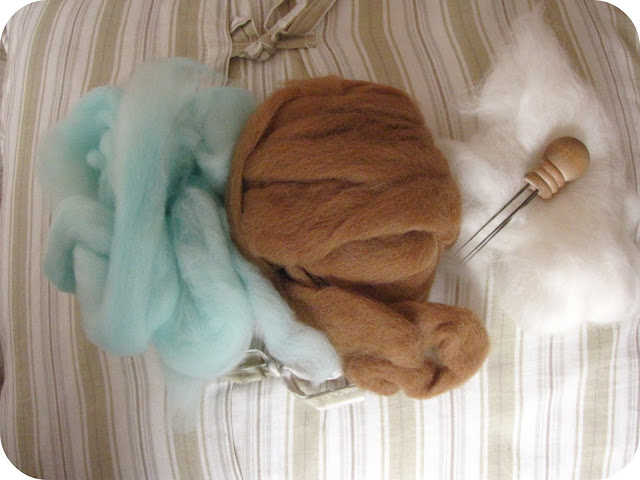
I used:
Brown Alpaca roving for the nest
Merino roving for the nest
Blue roving for the eggs
Needlefelting punch
Sponge
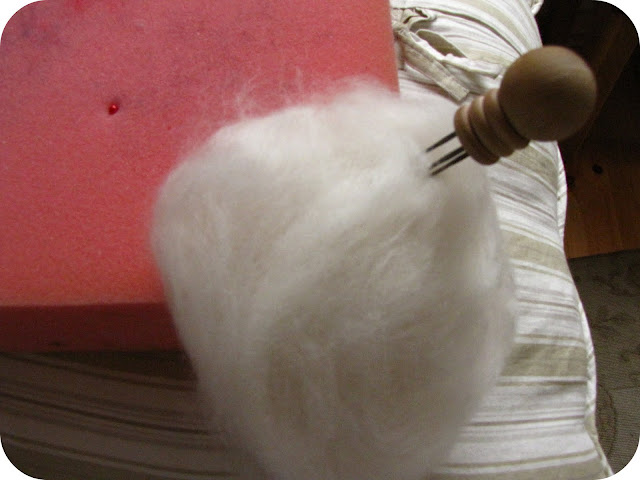
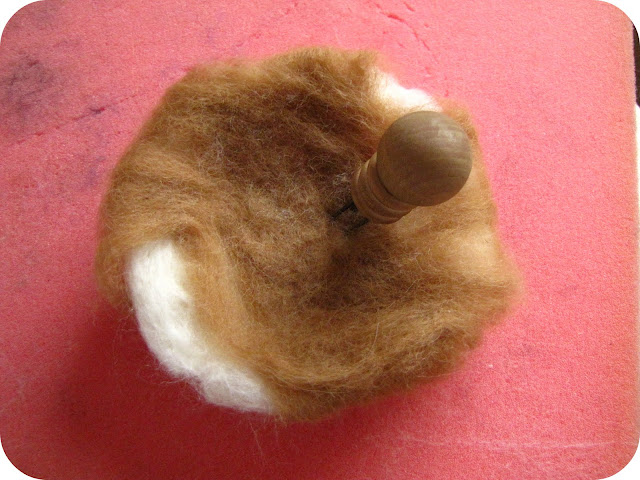
For nests I usually make the nest on the corner of the sponge. Take quite a large amount of merino roving and start using a needle punch to firm up the roving into a nest shape.
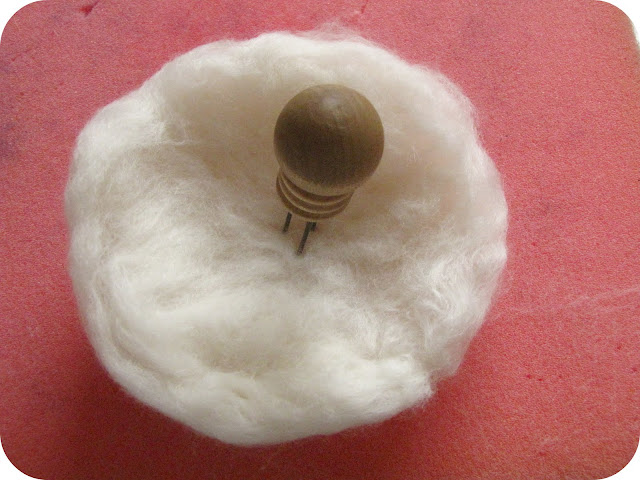
Once I have shaped the nest and it is quite firm, I needlefelted the inside of the nest, turned it over and also felted the back.
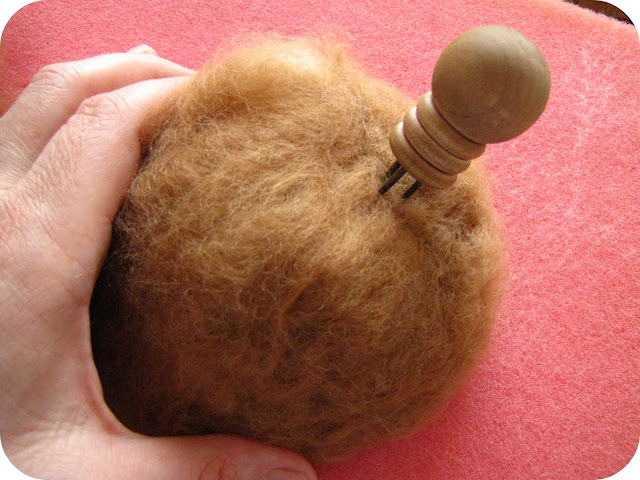
Now it is time to add the outer colour of the nest, the brown roving. Just tear thin strips, spread them out and start needlefelting them, until you have a nice smooth surface.
This is the underside of the nest.
The inside of the nest… I just curve it slightly and continue with the needlepunch to firm up the shape.
And there you go, a little Robin’s nest:)
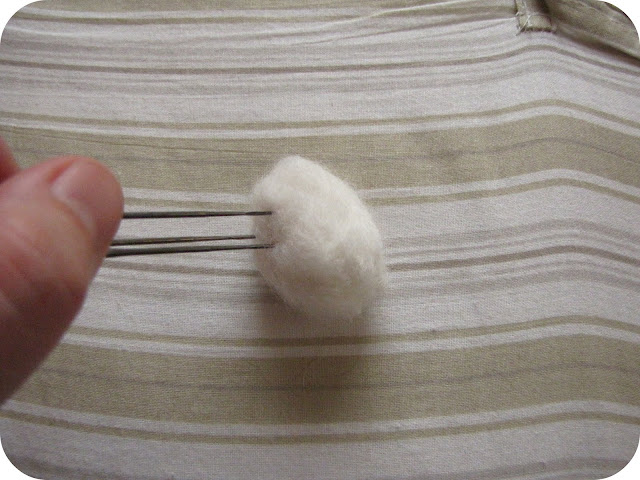
For the eggs, I used natural Merino roving for the egg shape. Needlefelted the egg until it was nice and firm.
Added the blue outer colour in thin strips and made sure the surface was covered and smooth.
And there you go!
A Robin’s nest with eggs:)
Perfect for an Easter tree:) Happy crafting:)

Share the Love Heart Swap:
We have received so many entries for our Share the Love Heart Swap, thank you all so much for taking part, we are very excited! Please, if you haven’t sent you name in and would still like to take part, feel free to leave a comment in this post and email me your name, address, blog link and email address to lindadawkins@mweb.co.za and Heidi and I will partner you up with someone for the swap. You can read about our swap here.

Happy Monday everyone:)
Warmly
Linda

Related Posts Plugin for WordPress, Blogger...
19

Powered by WordPress. Designed by Woo Themes


Hit Counter provided by Los Angeles SEO Company