Archive | Craft

Rubber Band Bouncy Balls Anyone?

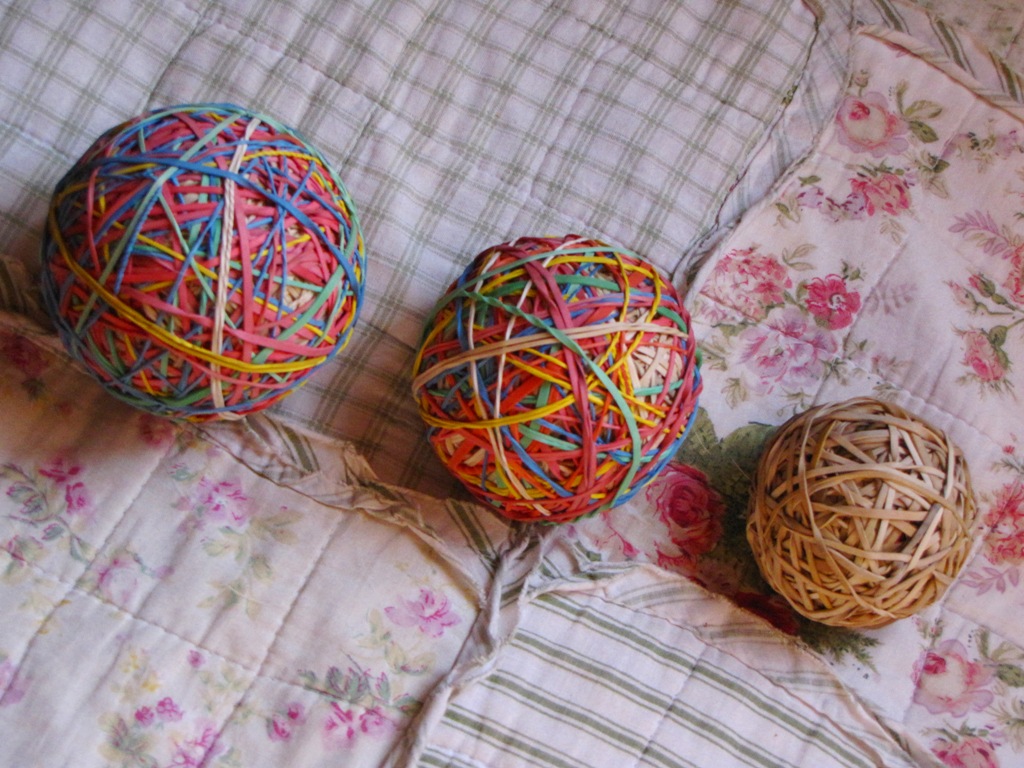
Ever wondered what to do with all those rubber bands instead of throwing them in the bin? Make rubber band bouncy balls of course! Every day when the newspaper arrives, it has a rubber band around it, we have saved all the bands and Jen, Erin and Cady have made the most amazing bouncy balls with them. We visited my mom today, Caiden asked her if she had any rubber bands, oh what thrill and excitement ensued when she brought out two big bags of bands, saying, “You know how I can’t throw anything away”…. (My mom also saves her newspaper rubber bands….. what luck).
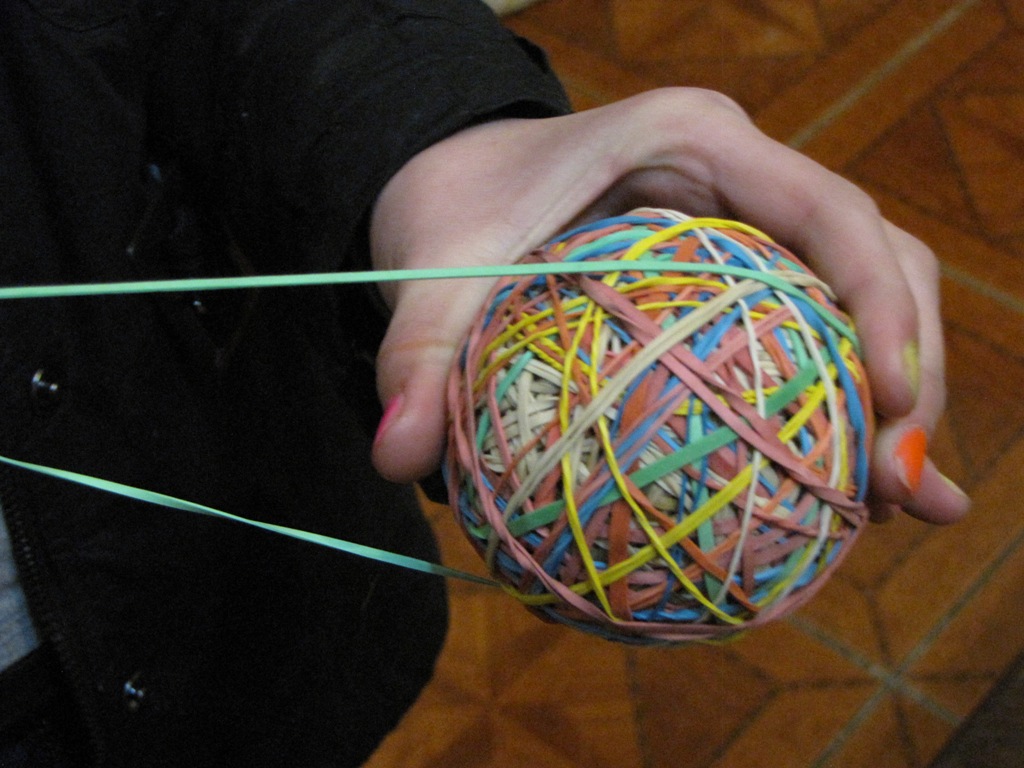
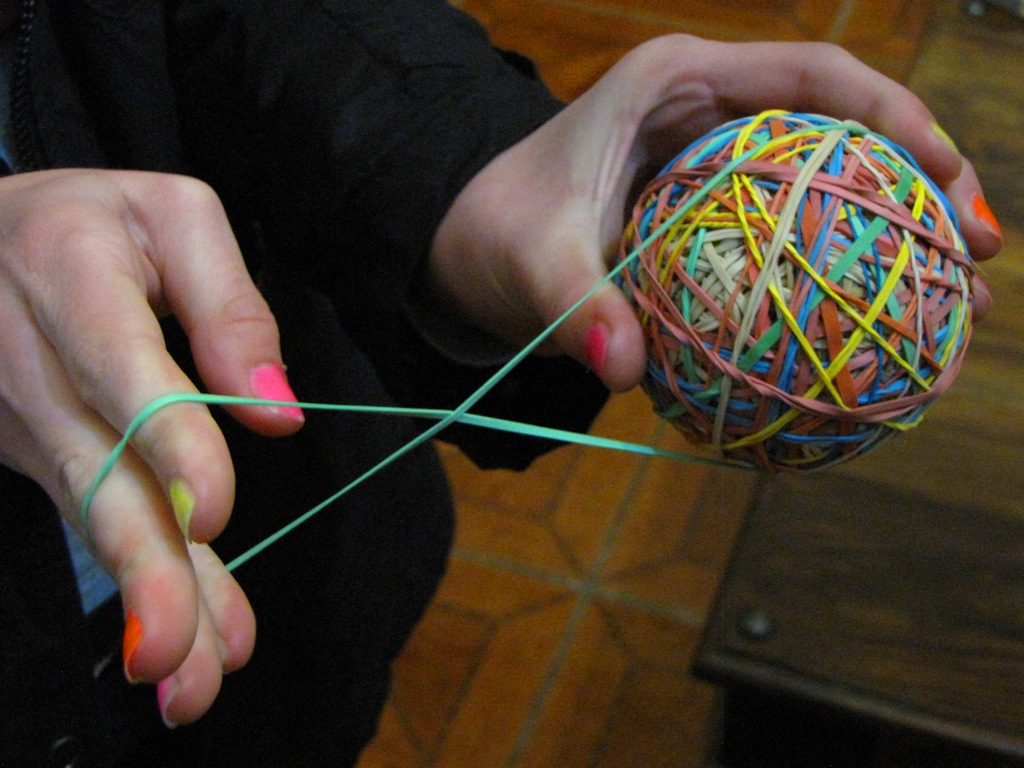
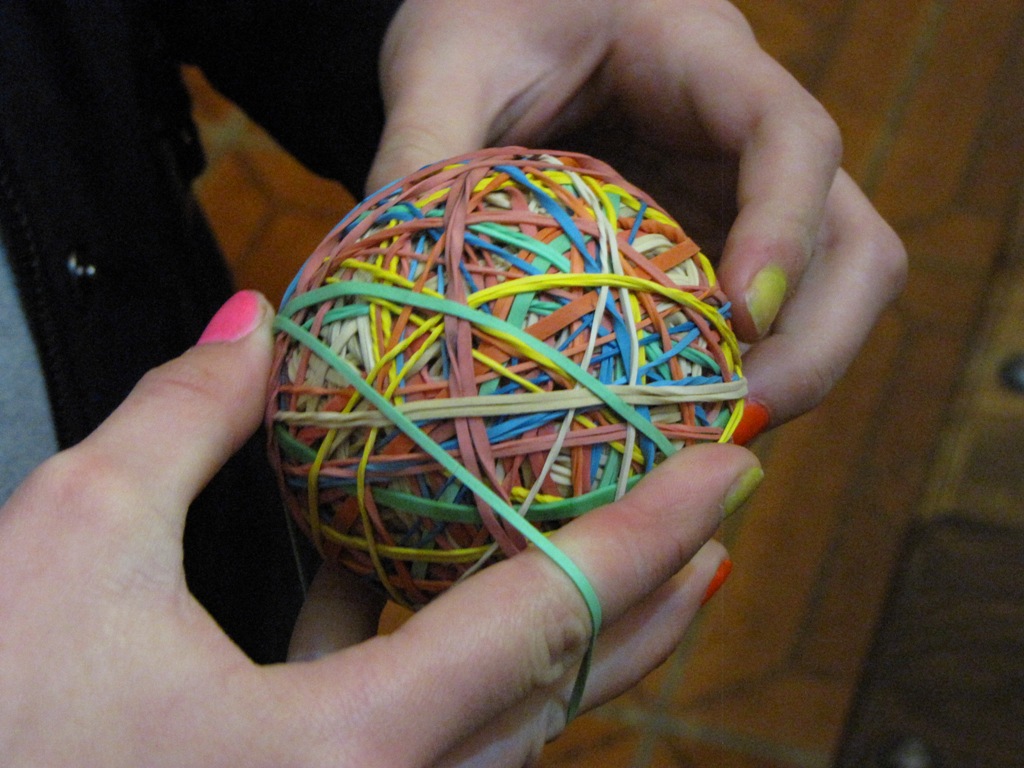
So if you feel the need to do some recycling of the rubber band kind, to make the bounciest, rubber band ball ever, this is what you do. Take a band and tie a few knots in it, roll it up, then just start wrapping single bands around and around in figure eight movements, (this can be a little tricky in the beginning, but don’t give up, it’s REALLY fun once you get going:) AND when you are finished, you have reused something and have an amazing rubber ball:)

14

Creative Friday


Welcome to Creative Friday 🙂 Thank you so much to everyone who shares the love and posts their links to their amazing work:) Please feel free to post your links to anything you have created and would like to share, it can be a recipe, sewing tutorial, knitting tutorial, felting, crochet, crafts, art, spinning, weaving, working with fibre, photography, poetry…etc…
I also love to hear from you, so if you have a moment, please leave a comment:) Thank you so much for sharing your wonderful talent with us! Just add the name of your blog to the widget and then add your blog link with the http:// at the beginning of your link address:) I have added a Creative Friday button on the sidebar of my blog, please feel free to add it to your blog for Creative Friday and link it to http://www.naturalsuburbia.com/ so others can find this space and share their creativity too:)

13

Easter Nest and Egg Pattern Tutorial

Hello wonderful friends, thanks so much for visiting:) Today, I have been working on a pattern for Easter crafting. We will soon be setting up our Easter tree and I wanted to make something special, so I have Knitted a nest in handspun Alpaca yarn, spun by my daughter Jenna. Inside the nest are some rainbow eggs. I have knitted the nest with a textured appearance to give it the look of a true nest. I do hope you enjoy knitting these patterns:)
Materials:
Yarn for the nest, I have used handspun Alpaca
Yarn for eggs, I have used rainbow cotton DK
4.5 mm circular needles
Wool needle for sewing up
Fleece for stuffing the eggs
Pattern:
Nest:
Cast on 10 stitches
Join for knitting in the round (Magic Loop)
Round 1: Knit
Round 2: Increase into each stitch across the round (20 stitches)
Round 3: Knit
Round 4: (Increase into the first stitch, knit 2 stitches, increase into the next stitch, knit 2 stitches) repeat across the round, knit 1 stitch on the end. (26 stitches)
Round 5: Knit
Round 6: Increase into each stitch. (52 stitches)
Round 7: (Knit 1 stitch, purl 1 stitch) repeat across round.
Round 8: (Purl 1, knit 1) repeat across round.
Round 9: (Knit 1 stitch, purl 1 stitch) repeat across round.
Round 10: (Purl 1, knit 1) repeat across round.
Rounds 11- 14: Knit 
Round 15: (Knit 1 stitch, purl 1 stitch) repeat across round.
Round 16: (Purl 1, knit 1) repeat across round.
Round 17: (Knit 1 stitch, purl 1 stitch) repeat across round.
Rounds 18-21: Knit
Rounds 22-23: Purl
Cast off.

Sew in the ends.

Egg Pattern: 
Cast on 4 stitches and join for knitting in the round.
Round 1: Knit
Round 2: Increase into each stitch (8 stitches)
Round 3: Knit
Round 4: Increase into each stitch (16 stitches)
Rounds 5-13: Knit
Round 14: (Knit 3 stitches, knit 2 stitches together) repeat across the round, knit 1 stitch on the end.
Round 15: Knit
Round 16: (Knit 1 stitch, knit 2 stitches together) repeat across the round, knit 1 stitch on the end.
Round 17: Knit
Round 18: (Knit 1 stitch, knit 2 stitches together) repeat across the round.
Round 19: Knit
Finishing off:
Break your thread and thread your yarn onto a wool needle and thread your stitches from your circular neeldes onto your wool needle and pull tight to close the opening. I normally fill the egg from this end and make sure the the wide base is firm and then fill the rest of the egg. Close both ends by threading tight in a circle with your thread and pulling tightly closed.

Roll your egg in your hands to get the required egg shape, and there you have an Easter Egg:) 

Wishing you all an inspired week.
xo
Linda
21

Valentine’s Heart Transparency Tutorial

I really Love transparencies! They are so simple to make and yet so effective:) I have just made two little hearts on this one but you can really be creative and also make quite intricate designs that look amazing. I am going to make a few more of these and stand them all along our mantlepiece for our Valentine’s dinner on the 14th.

Materials:
Red card
Scissors
Wax wrap paper
Pencil
Glue
Candle
Matches

Fold the sides of the card in towards the middle.

Draw two hearts or whatever design you would like and cut it out.

Cut out your wax wrap paper and stick on the inside of your card.

Stand up your card and place a little candle or two behind your transparency and you will have a very effective Valentine ornament.
Have fun:)

Related Posts Plugin for WordPress, Blogger...
10

Powered by WordPress. Designed by Woo Themes


Hit Counter provided by Los Angeles SEO Company