
Dear Friends,
Thanks so much to everyone who has put their name forward for the Share the Love Heart Swap, we have started to partner people up and we are all looking so forward to this wonderful crafting experience and connecting with people all over the world:) Jenny B I received your comment but I couldn’t find your email you sent through, it must be stuck in cyberspace. If you could resend your address, name and blog link through that would be wonderful, thanks so much:) I will write more about the swap at the end of this blog post…:)
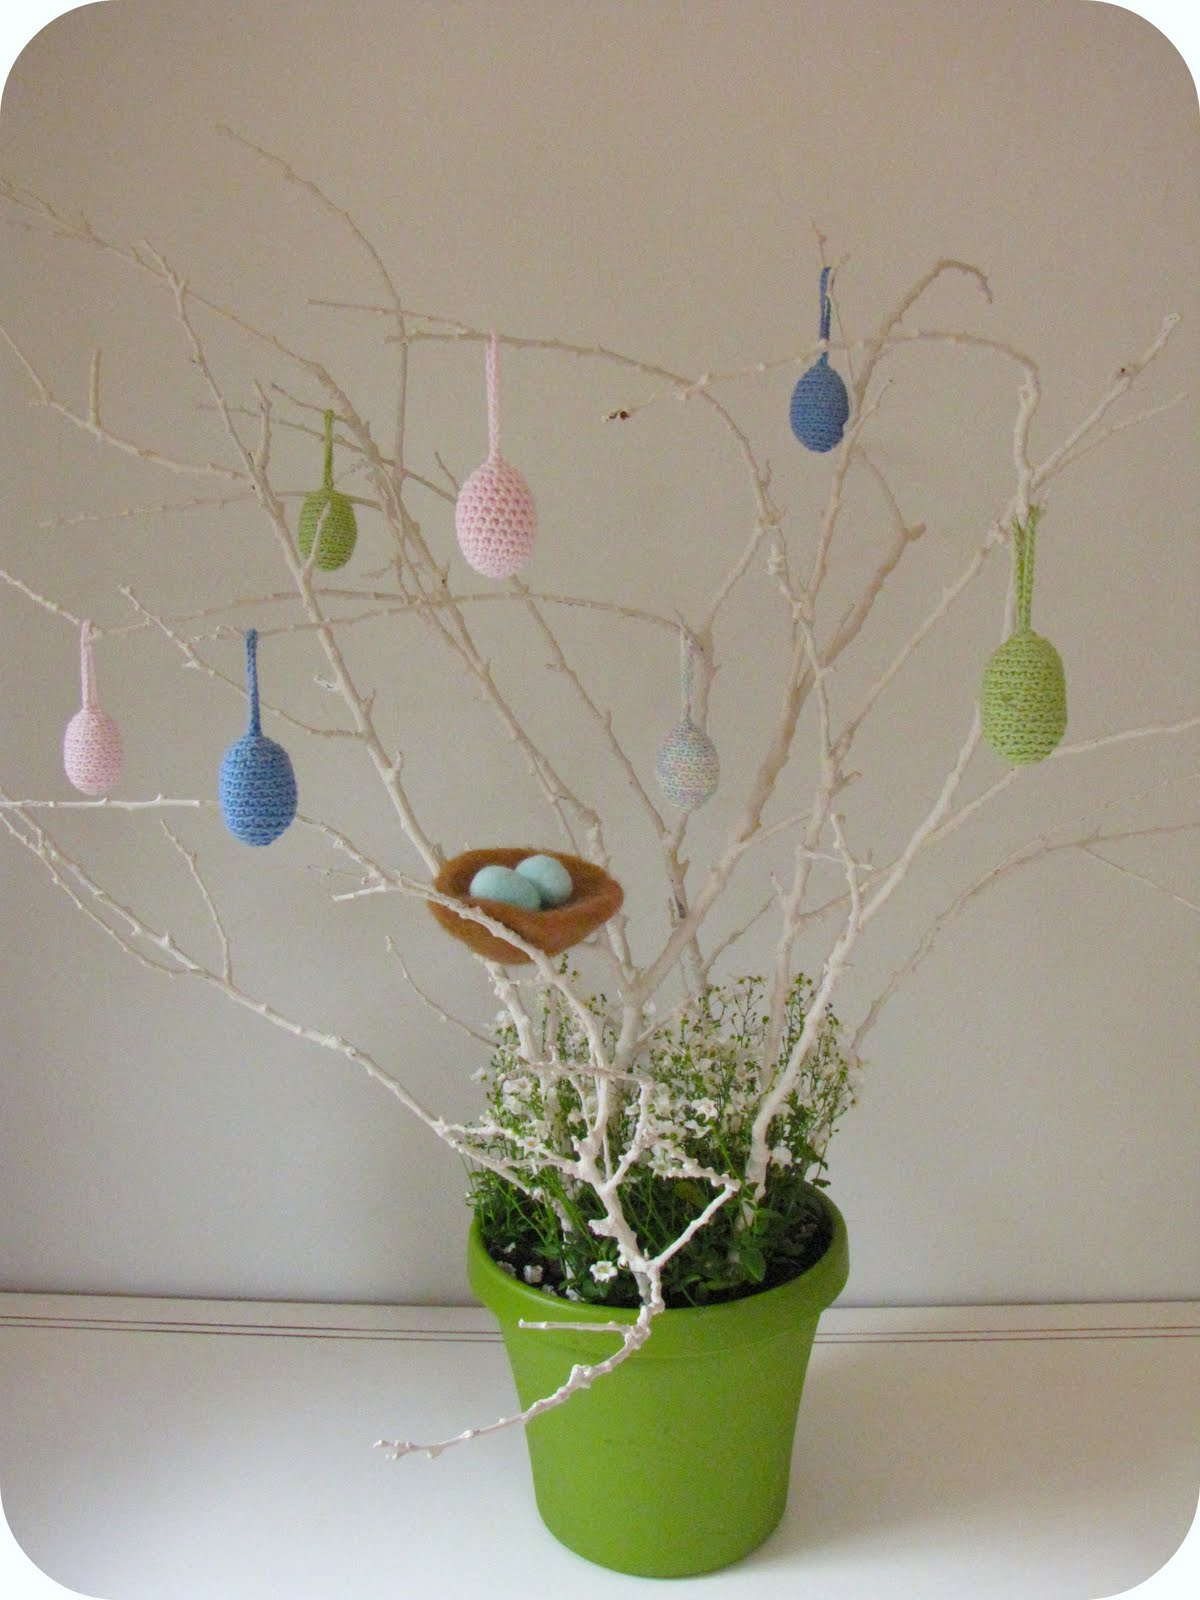
Now back to our travelling Easter Tree. My very creative friend, Heidi, and I have decided to put together a travelling Easter tree that will commute between our two homes and each time it arrives we will put together a tutorial specifically for the tree. Heidi built the tree and you can see her tutorial here on her blog, her first addition to the tree was a crocheted Easter egg tutorial.
Now it is my turn. When this beautiful tree arrived on Sunday afternoon, I looked at it and throught how lovely it was. I was wondering what I could add to this tree…. I decided on a Robin’s bird nest with eggs:)

Here is the tutorial below:


I used:
Brown Alpaca roving for the nest
Merino roving for the nest
Blue roving for the eggs
Needlefelting punch
Sponge
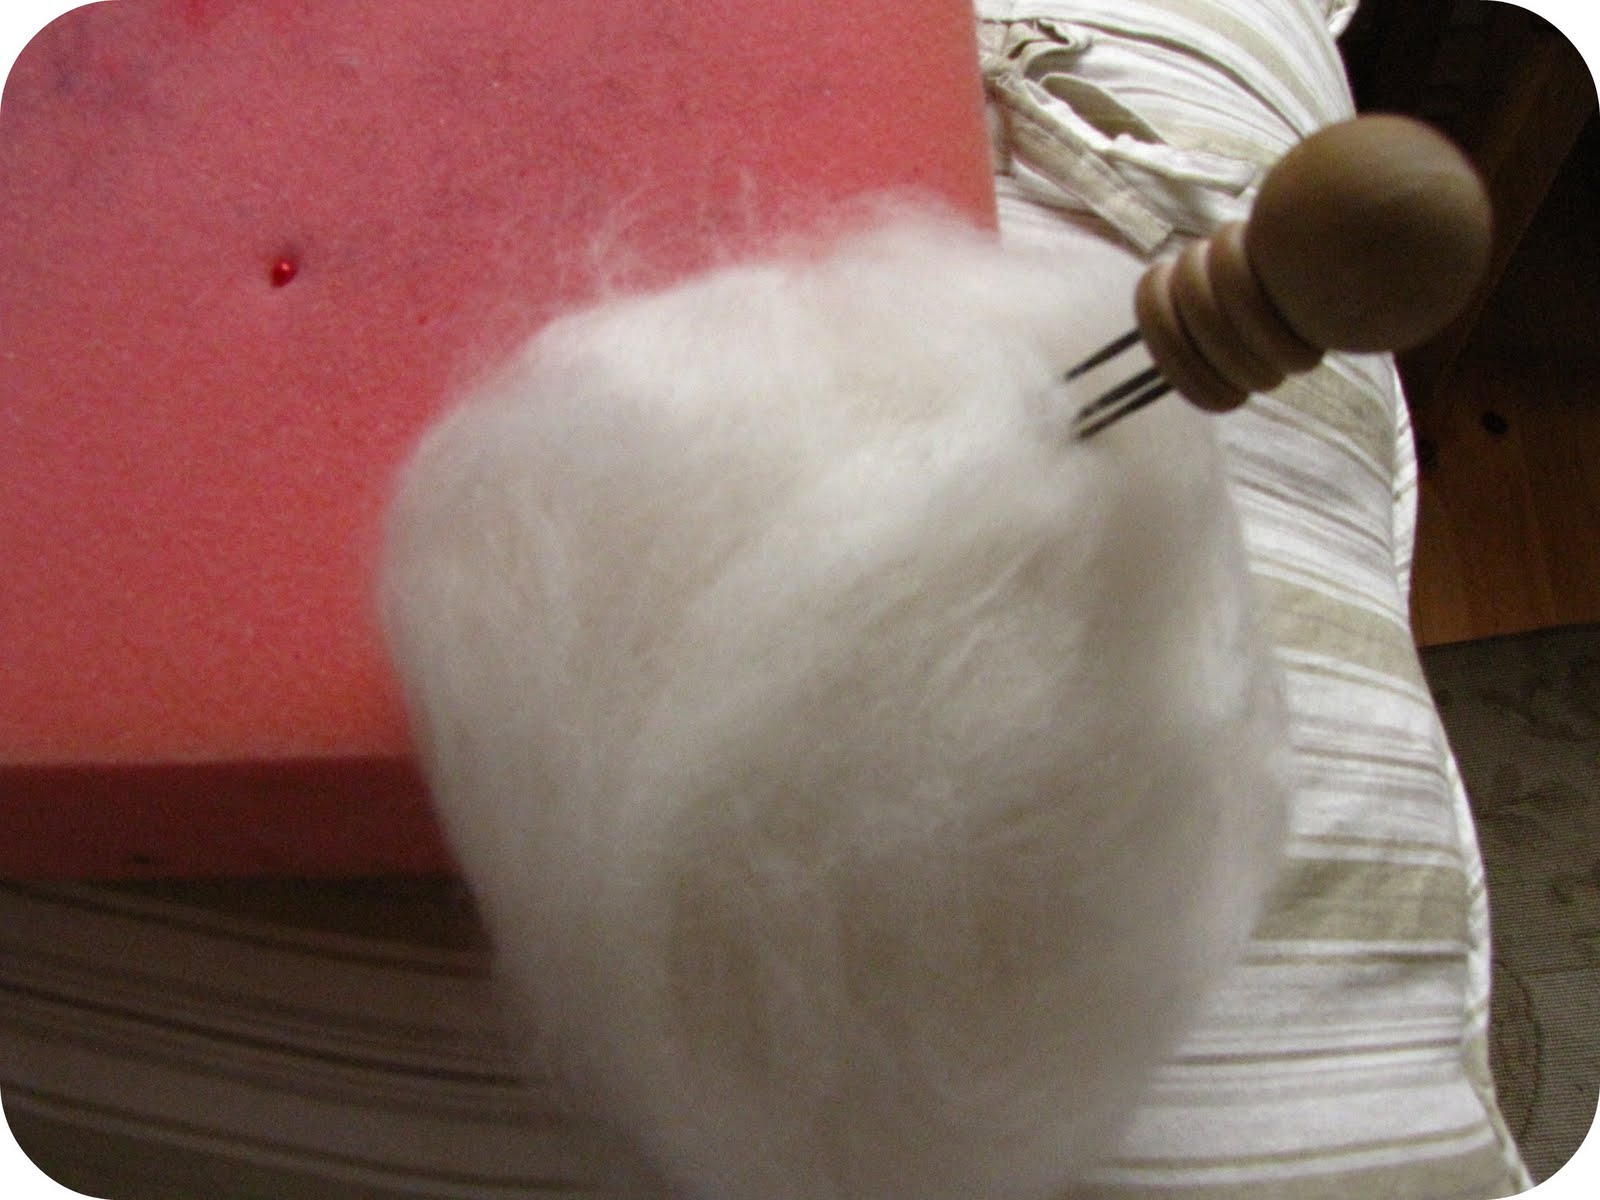
For nests I usually make the nest on the corner of the sponge. Take quite a large amount of merino roving and start using a needle punch to firm up the roving into a nest shape.

Once I have shaped the nest and it is quite firm, I needlefelted the inside of the nest, turned it over and also felted the back.

Now it is time to add the outer colour of the nest, the brown roving. Just tear thin strips, spread them out and start needlefelting them, until you have a nice smooth surface.

This is the underside of the nest.

The inside of the nest… I just curve it slightly and continue with the needlepunch to firm up the shape.

And there you go, a little Robin’s nest:)

For the eggs, I used natural Merino roving for the egg shape. Needlefelted the egg until it was nice and firm.

Added the blue outer colour in thin strips and made sure the surface was covered and smooth.

And there you go!
A Robin’s nest with eggs:)
Perfect for an Easter tree:) Happy crafting:)

Share the Love Heart Swap:
We have received so many entries for our Share the Love Heart Swap, thank you all so much for taking part, we are very excited! Please, if you haven’t sent you name in and would still like to take part, feel free to leave a comment in this post and email me your name, address, blog link and email address to lindadawkins@mweb.co.za and Heidi and I will partner you up with someone for the swap. You can read about our swap here.
Happy Monday everyone:)
Warmly
Linda
Needle felting eggs and nest creates a very nice effect – very natural, really, very real-nest like. Do you always use a needle holder? I’m learning to do this felting thing, but I’ve only used one needle at a time. I started a Wool Pets lamb, but got timid, so began to practice on other materials – not having sheep or easy access to roving (horse hair does not felt, but Collie hair and Australian Shepherd coat do), but I found that bamboo fiber stuffing does NOT felt (my first broken needle). Commercial stuffing does. And I have learned that many people will use it as a core material, saving the rare and precious wool for the outside of the piece.
I thought three needles at once would be hard to use on small things – and hard to control for details and small shapes. But your project is so delightful.
What a fun idea, Linda!
Dear K
Thanks so much for visiting here:)I only use a needle holder for large projects, like this one. When I work on smaller, more detailed projects, I use a single needle. Thank you for your kind words about the little nest:)
Warmly
Linda
Linda, I love the little blue robin’s eggs they are just adorable. I am so excited to hear about your swap. I sent you an email with all my information to get signed up. I am so excited to see yout easter tree grow.
Divine! Just beautiful!
Linda, you are amazing… I couldn’t have thought of a more perfect addition to out tree! I am going to add my bit tomorrow ,a nd then bring it back for your next installement! I LOVE the little blue eggs…so sweet!
Love,
Heidi 🙂
Dear Angela,
Welcome to the swap!
Warmly
Linda
What a beautiful spring tree!
That’s lovely! The little nest looks soo cozy – can’t wait for the next bit. You two are amazing!
I’m enjoying watching your Easter tree grow…the nest is lovely. Oh, and I’m ready to do some heart swapping…off to e-mail you 🙂
I just love this nest. I’ve been wanting to try needlefelting for awhile and this will be the project I learn it on. I’m really enjoying Heidi’s blog as well. What a great idea for the travelling easter tree. Enjoy!
I love the idea of the traveling Easter tree, it’s so creative. Your nest and eggs are gorgeous. Thank you for showing us how to make them.
So beautiful, Linda 🙂
I would love to be a part of the swap. Just sent you an email!
Amy Goins
ahgoins@yahoo.com
Hello!
It’s Aliki, Heidi’s daughter, and I’m so glad I can now follow your blog!
Mom recently helped me out with the Gmail account, and I’m so excited to see all the lovely things you’ve made!
I saw the nest today. It’s the prettiest, sweetest little nest of eggs. It really looks gr8.
Looking forward to following!
From, A =]
The nest and eggs are so cute. I love needle felting. I’m excited to get started on the heart swap!
what a gorgeous post, Linda!!
thanks for sharing your tips.
i am so thrilled to be taking part in your heart swap, and have already almost finished my piece – i was so inspired to get started!!
thanks again!
Oh Linda … your robin’s nest is so very sweet … I’m sure if our robin mama neighbor saw your pretty nest, she would move her family right in!! … thank you so much for sharing your process. ~Pamela
Gorgeus!!!! adorable, gracias por compartir este bello trabajo!!!!!!!!!