
Voila!!
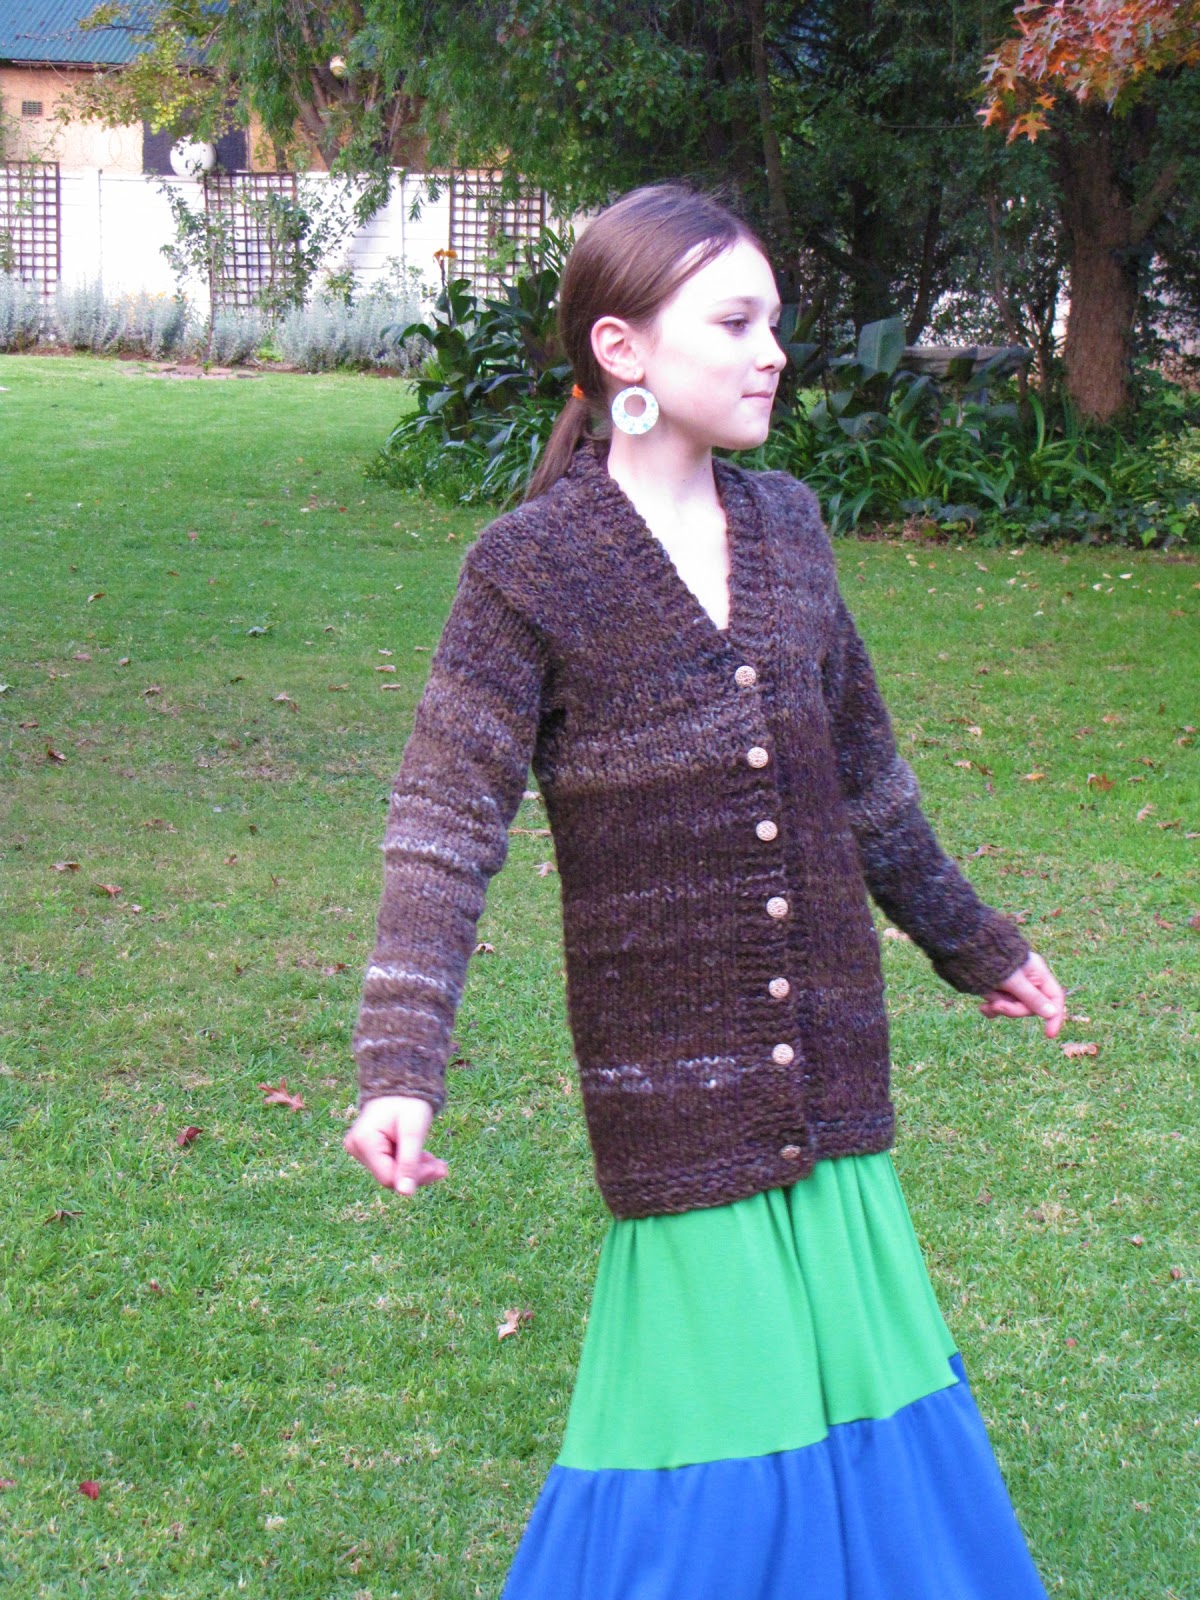
Jen’s Birthday Cardigan is finished!
She is very excited:) I am so happy that I have managed to finish her special cardigan, I wish I had been able to finish it in time for her birthday, but now here it is:) It’s so warm and soft and finished in perfect time for our really cold winter. It’s freezing here in Johannesburg today!
I have included the pattern instructions below…


Jenna’s Cardigan


Erin’s Cardigan
Jenna’s Cardigan Instructions:
Materials:
2 ply bulky Merino handspun wool
8mm circular needles
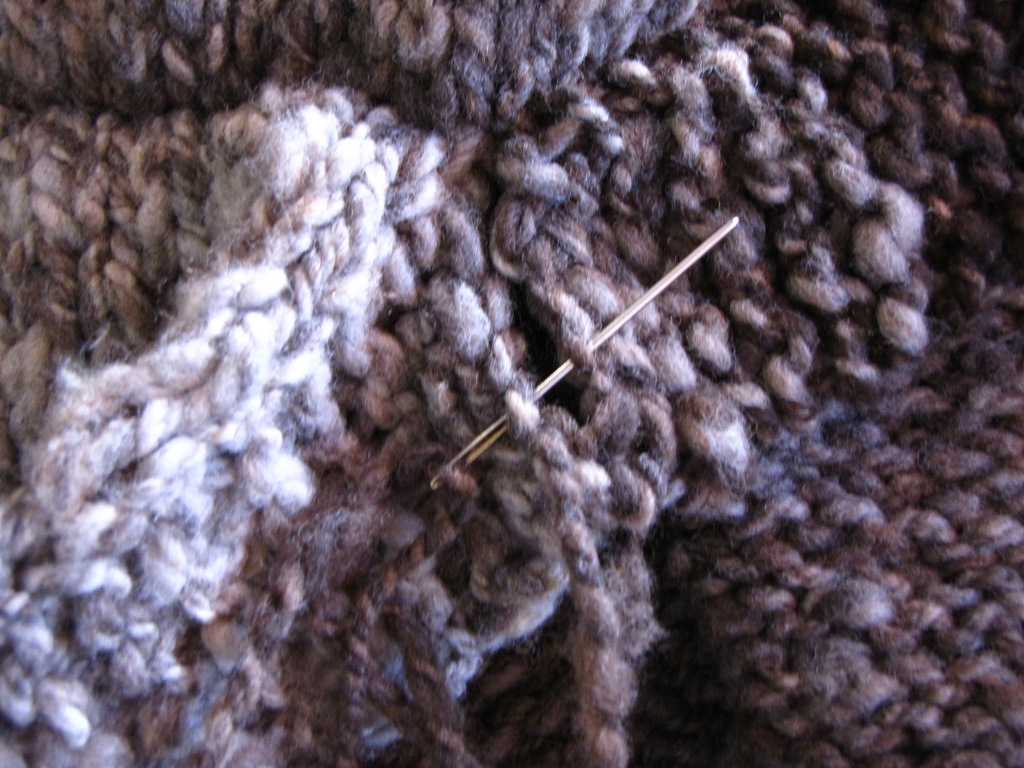
Wool sewing up needle
Buttons
Gauge:
3 stitches to 1 inch
13 rows of knitting measures 3 inches
Pattern Instructions:
These instructions are for Jenna’s cardigan. We took Jen’s measurements and then I worked out the gauge of the wool. For Jenna’s cardigan I cast on 124 stitches.
I knitted the front and sides of the cardigan all in one which was wonderful and made this a fast knit:) Because of the bulkiness of the wool, I have not knitted button holes, the big buttons fit perfectly through the knitting stitches, but of course you could add button holes if you wish.
Cast on 124 stitches
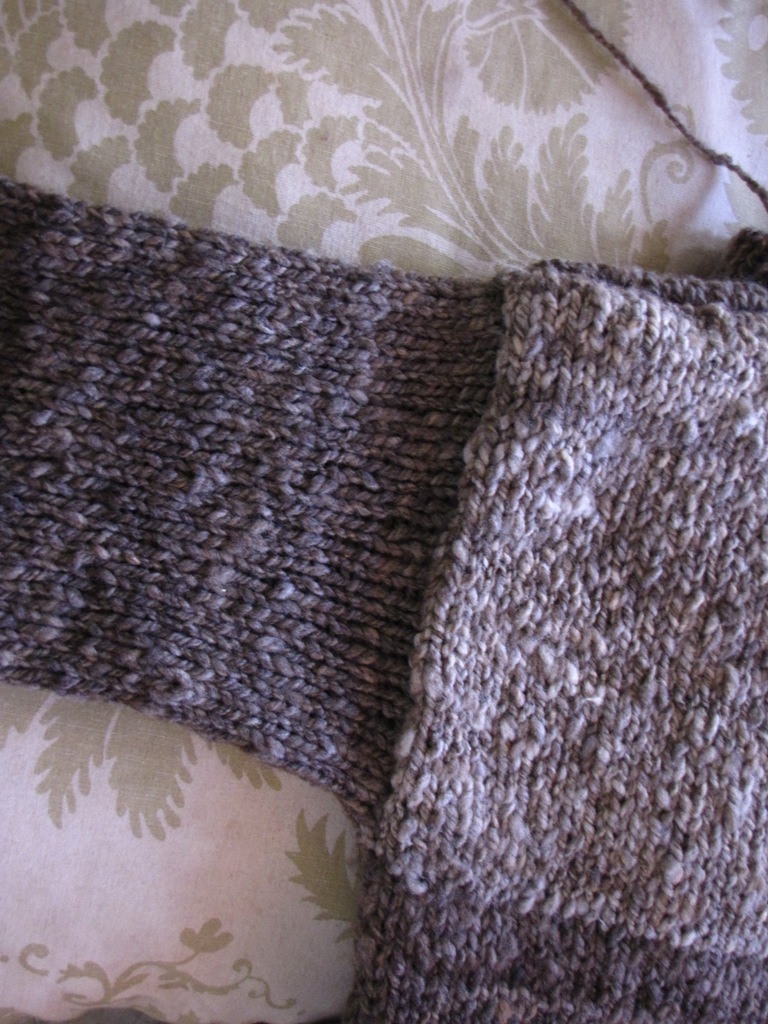
Knit in garter stitch for 6 rows, creating an attractive border
After these 6 rows you will continue in stocking stitch but knit 6 stitches at the beginning and ends of each row for the border.
I knitted for 26 inches until I reached the armhole.

Front side of the cardigan with border.
Fronts and Back:
Knit 31 stitches, this will be the first side, put the rest of the stitches on a stitch holder.
Knit for 9 inches, or your comfortable measurement from the start of the armhole to the top of the shoulder, remember to knit the border on the side. Once you have knitted up high enough, cast off. (once the back has been finished you will sew the top of the front to the top of the back of the cardigan).
Now you will be knitting 62 stitches off of the stitch holder for the back, leave the remaining stitches on the stitch holder.
Knit the back in stocking stitch until it is as long as the front you have just knitted. Mine was 9 inches.
Cast off.
You will now be knitting the remaining 31 stitches from the stitch holder until it measures 9 inches like the other side and back, or whatever measurement is comfortable for you:)
This is what I LOVE about this cardigan, it is knitted according to your measurements, it is a straight knit, nothing fancy and looks and feesl so comfortable!
Now that you have finished the front sides and back, turn your cardigan inside out and sew right sides together at the top of the shoulders, NB don’t sew the border section to the back just the stocking stitch section. (Seen in the photo below). Sew the top of the front to the back on the one side and the sew the other top of the front to the back at the top of the shoulders. If you fitted the cardigan on now it would look like a waist coat with out sleeves.

Top of the shoulder seams has been sewn and the border section has not yet been sewn.
Sleeves.
With your circular needles, pick up 40 stitches around the armhole of the cardigan and knit according to your required arm length. For Jenna’s I knitted 65 rounds, then decreased 4 stitches evenly throughout the next round. Knit another 7 rounds, decrease 4 stitches evenly throughout the following round.

Cuffs.
Start knitting the cuffs in a double rib, (knit 2, purl 2) all the way around for 8 rounds and cast off.
Neck:

Pick up 6 stitches from the right facing side of the cardigan that you cast off at the top of the front.

When you start to knit pick up one stitch from the back of the cardigan.

Knit this picked up stitch together with the first stitch.


Continue picking up a stitch and knitting it together with the first stitch. See how you have attached the collar to the back of the cardigan:)

When you reach the other side of the collar, cast off.
Sew the two ends together and the collar is finished! 🙂
Finishing off:
Sew in all ends and sew on your buttons and you are finished!
To knit a smaller size like Erin’s, she is 12 years old, I cast on 79 stitches.
For the sleeves I picked up 40 stitches around the armhholes, knitted 36 rows, decreased 4 stitches evenly on sleeves, knitted another 10 rows, decreased 6 stitches evenly, knit 6 rows, decreased 4 stitches evenly on the next row and I knitted 8 rounds for the cuffs.
Jenna’s cardigan fits me and I am a size 36-38 (12-14).
Please email me if anything is unclear:) lindadawkins@mweb.co.za
Enjoy
Warmly
Linda
xo
Please not that this pattern is for persoanl use only:)
Oh thank you Linda!I know, such a tutorial is a lot of work! I love this natural bulky wool..and your girls are looking great with their Cardigans!
warmly from the other side of the earth;)
JenMuna
Thank you so much for sharing this with us! I am filing it away in my “to knit this winter” file. I love them both and the fact that they are made with handspun yarn. Beautiful.
Dear Jen, Cynthia and Christine, thanks so much:)
Warmly
Linda
That’s really lovely, Linda! I love the color and texture of the wool too. Your girls both look so beautiful! Well done, mama!
A truly lovely cardi Linds~ Such lovely natural wool. Next is one for Richie Roo….
Stay warm
Sue
X
Lovely work. If it were fall for us, I’d be longing for one myself. The girls look delicious in them. This is one of the posts I have to mark so that I can study your step by step. The pictures are very clear. I need all the help I can get.
Just a lovely cardi. You can see how happy Jenna is in the photos. both sweaters are so lovely and I really like your choice of yarn. Thanks for the tutorial as well.
I realize it is a lot of work to make a tutorial. But could you just condense the pattern so we can print it out on a couple sheets of paper? Thanks Kelly
I’d love to know how to knit this in a 2x or 3x size for women! Really nice sweater!! Please send to me directions for these sizes to homebody1961@cox.net!! Thanks.
I saw this pattern and thought it was beautiful. I would love to try one but don’t know how much yarn to buy to make Jenna’s size (12-14). I am also interested in getting directions to increase the size a little more (14-16). Any information you can send back will be greatly appreciated. I would like to start soon so I can make two for X-mas gifts:) Thanks so much for all your work to make the tutorial.
I really would like to know how much yarn this takes. Did anyone find out? my email is lambgram@comcast.net
I love Jenna’s hat! Can you share the pattern?
Would love tp make this as a Christmas present for a friend but i need number of stiches for larger size could you help me with this
Thanking You in Advance
Hi Carol,
There is a gauge there, 3 stitches to 1 inch, I used very chunky wool. You will need to get your friend’s measurements and then work out, according to how many inches there are, the amount of stitches you’d need.
Let me know how you go 🙂
Happy knitting
Linda 🙂
Carol,
I am interested in knitting this cardigan for my toddler granddaughter, but am terrible at figuring out how to do that. I understand that the size is figured from the gauge, but I don’t know how to figure out size as related to the pattern. Is there a formula?
Hi Carol,
What I initially did was measure around to see how wide we wanted the cardi, found the wool to knit it in, I used a chunky wool. Worked out how many stitches per inch for the wool and then when I knew how many inches we were knitting around for the body,I cast on those stitches x by the amount of inches needed. It just knits straight up and then I picked up stitches for the arms and then again you can just gauge how wide you want the sleeves to be:)
Hi Carol love love the pattern been looking for ages thank you very much can not wait to make my daughter cardigan up.